


Ingredients
For the gelatin bloom:
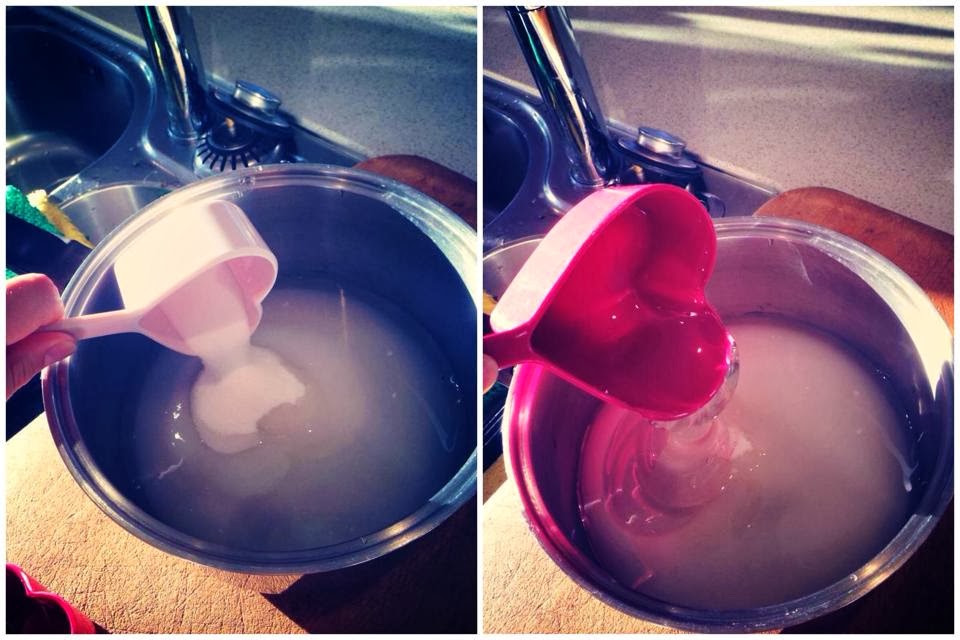
3 tablespoons unflavored gelatin powder
1/2 cup cold water
1 1/2 tablespoons vanilla extract
3 tablespoons unflavored gelatin powder
1/2 cup cold water
1 1/2 tablespoons vanilla extract
For the marshmallows:
3/4 cup water
1 1/2 cups caster sugar
1 1/4 cup corn syrup
Pinch kosher salt
3/4 cup water
1 1/2 cups caster sugar
1 1/4 cup corn syrup
Pinch kosher salt
For the marshmallow coating:
1 1/2 cups powdered sugar
1/2 cup cornflour
1 1/2 cups powdered sugar
1/2 cup cornflour
Cooking spray
Equipment
Bowls and measuring cups
Fork or small whisk
9x13 baking pan or other flat container
4-quart saucepan (slightly larger or smaller is ok)
Pastry brush (optional)
Candy thermometer, one that can clip to the side of the sauce pan
Stand mixer with a wire whisk attachment (See Recipe Note)
Clean kitchen towel
Stiff spatula or spoon (as opposed to a rubbery, flexible one)
Sharp knife or pizza wheel
Instructions
- Prepare pans and equipment: Spray the baking pan with cooking spray. Use a paper towel to wipe the pan and make sure there’s a thin film on every surface, corner, and side. Set it near your stand mixer, along with the kitchen towel and spatula. Fit the stand mixer with the whisk attachment.
- Bloom the gelatin: Measure the gelatin into the bowl of the stand mixer. Combine 1/2 cup cold water and vanilla in a measuring cup and pour this over the gelatin while whisking gently with a fork. Continue stirring until the gelatin reaches the consistency of apple sauce and there are no more large lumps. Set the bowl back in your standing mixer. (Alternatively, you can bloom the gelatin in a small cup and transfer it to the stand mixer.)

- Combine the ingredients for the syrup: Pour 3/4 cup water into the 4-quart saucepan. Pour the sugar, corn syrup, and salt on top. Do not stir.
- Bring the sugar syrup to a boil: Place the pan over medium-high heat and bring it to a full, rapid boil — all of the liquid should be boiling. As it is coming to a bowl, occasionally dip a pastry brush in water and brush down the sides of the pot. This prevents sugar crystals from falling into the liquid, which can cause the syrup to crystallize. If you don’t have a pastry brush, cover the pan for 2 minutes once the mixture is at a boil so the steam can wash the sides.

→ Do not stir the sugar once it has come to a boil or it may crystallize. - Boil the syrup to 247°F to 250°F: Clip a candy thermometer to the side of the sauce pan and continue boiling until the sugar mixture reaches 247°F to 250°F. Take the pan off the heat and remove the thermometer.

- Whisk the hot syrup into the gelatin: Turn on your mixer to medium speed. Carefully pour the hot sugar syrup down the side of the bowl into the gelatin. The mixture may foam up — just go slowly and carefully.

- Increase speed and continue beating: When all the syrup has been added, cover the bowl with a clean kitchen towel and increase the speed to high (the cloth protects from splatters — the cloth can be removed after the marshmallows have started to thicken).

- Beat marshmallows until thick and glossy: Whip for about 10 minutes. At first, the liquid will be very clear and frothy. Around 3 minutes, the liquid will start looking opaque, white, and creamy, and the bowl will be very warm to the touch. Around 5 minutes, the marshmallow will start to increase in volume. You'll see thin, sticky strands between the whisk and the side of the bowl; these strands will start to thicken into ropes over the next 5 minutes. The marshmallow may not change visually in the last few minutes, but continue beating for the full 10 minutes. When you finish beating and stop the mixer, it will resemble soft-serve vanilla ice cream.

- Immediately transfer to the baking pan: With the mixer running on medium, slowly lift (or lower, depending on your model) the whisk out of the bowl so it spins off as much marshmallow as possible. Using your stiff spatula, scrape the marshmallow mixture into the pan. This stuff is very thick and sticky, so don’t worry about getting every last bit out of the bowl. Just get as much as you can.

- Let the marshmallows set for 6 to 24 hours: Spray your hands lightly with cooking oil and smooth the top of the marshmallow to make it as even as possible. Let the mixture sit uncovered and at room temperature for 6 to 24 hours to set and "cure.

- Prepare the marshmallow coating: Combine the powdered sugar and cornstarch in a bowl.

- Remove the marshmallows from the pan: Sprinkle the top of the cured marshmallows with some of the powdered sugar mix and smooth it with your hand. Flip the block of marshmallows out onto your work surface. Use a spatula to pry them out of the pan if necessary. Sprinkle more powdered sugar mixture over the top of the marshmallow block.

- Cut the marshmallows: Using a sharp knife or pizza wheel, cut the marshmallows into squares. It helps to dip your knife in water every few cuts. (You can also cut the marshmallows with cookie cutters.)

- Coat each square with powdered sugar mix: Toss each square in the powdered sugar mix so all the sides are evenly coated.
- Store the marshmallows: Marshmallows will keep in an airtight container at room temperature for several weeks. Leftover marshmallow coating can be stored in a sealed container indefinitely.

No comments:
Post a Comment