Thursday 20 February 2014

Purple Dasiy Cupcakes - Gluten free

Any excuse to make cupcakes - yesterday was my cousins 10th birthday so what better way to spend the morning than making cupcakes for her to share with the class. After talking to her the night before she only had one specification, purple icing! So this is what I managed to come up with! I hadn't made and flowers for cupcakes recently so decided to top little vanilla cupcakes with white and yellow gum paste flowers. I also noticed that my vanilla cupcake recipe has never been shared on my blog so here you go!!


Vanilla cupcakes:
Ingredients:
2 3/4 cups plain flour (to make gluten free use all purpose gluten free flour, I use healtheries baking mix which work amazingly with this recipe)
2 teaspoons baking powder
200 g softened unsalted butter
1 3/4 cups castor sugar
4 eggs
1 tablespoon vanilla extract
1 cup milk

MAKES 24 KEEPS 2 days FREEZES 2 months

Method:
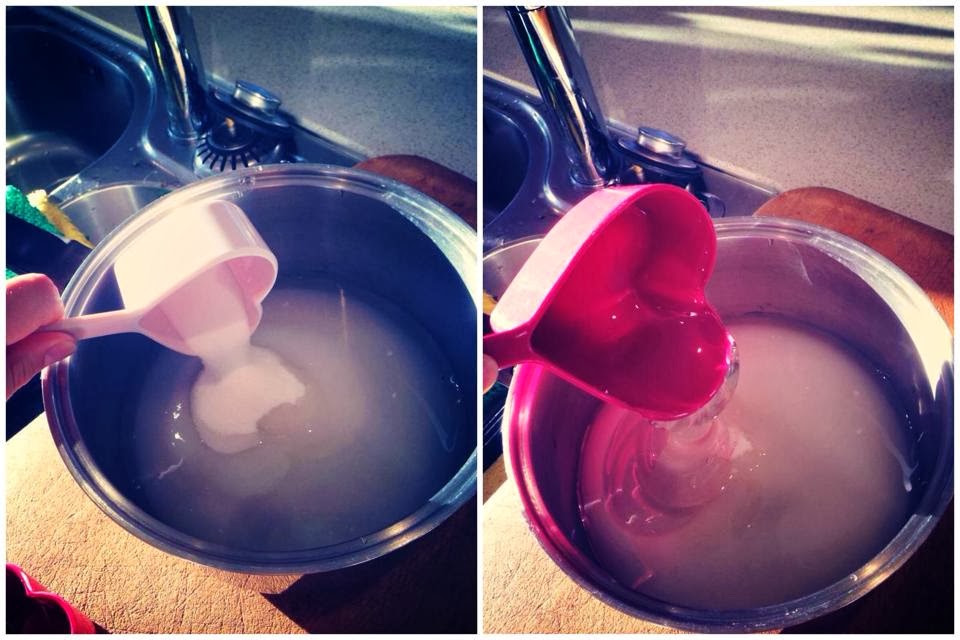
Preheat oven to 170°C. Line two 12-hole muffin trays with cupcake papers. (I made mini cupcakes so lined 2x 24 mini muffin tin cases with papers)Sift together the flour and baking powder.

In a separate bowl, cream the butter for 1–2 minutes. Add the castor sugar a third at a time, beating for 2 minutes after each addition. After the last addition, beat until the mixture is light and fluffy and the sugar has almost dissolved. Add eggs one at a time, beating for 1 minute after each addition or until mixture is light and fluffy. Add the vanilla extract and beat until combined.

Add a third of the flour to the creamed mixture and beat on low speed until combined. Add half of the milk and beat until combined. Repeat this process. Add the remaining third of the flour and beat until thoroughly combined; do not overbeat as this will toughen the mixture.

Spoon (I find it easier to fill mixture into a pastry bag and pipe into cases) mixture into cupcake papers, filling each about threequarters full. Bake for 18–20 minutes or until a fine skewer inserted comes out clean. (if you are making mini cupcakes bake for 10-12 mins, so a little golden on top)
 Remove cupcakes from the trays immediately and cool on a wire rack for 30 minutes before frosting.


Vanilla buttercream frosting:
Ingredients:
200 g softened unsalted
butter
1/2 cup milk
1 tablespoon vanilla extract
8 cups icing sugar
MAKES 4 cups of frosting – enough for 24 cupcakes KEEPS 1 week
Cream the butter for 1–2 minutes. Add the milk, vanilla extract and half of the sifted icing sugar, and beat for at least 3 minutes or until the mixture is light and fluffy. Add the remaining icing sugar and beat for a further 3 minutes or until the mixture is light and fluffy and of a spreadable consistency. Add extra milk if the mixture is too dry or extra icing sugar if the mixture is too wet.
If you wish to colour and/or flavour the buttercream then this is the time to do it. Add a drop at a time and beat in until you reach the required colour and/or flavour. Pipe or use a round edge kitchen knife to apply the buttercream to the cupcake. Add decorations quicky before icing sets.

Flower making photos:


Sunday 16 February 2014

Home Made Vanilla Marshmallows - Gluten and Dairy Free

Marshmallows are one of my favourite sweet treats of all time, and have only just realised I had never made them before so today was the day! I am pleased to say they were surprising quite easy and didn't take much effort but more standing around waiting for it to reach the right temperature. I used the recipe from Thekitchn which i have below, it was very detailed and easy to follow for first time makers. I decided to stick with the original vanilla, to get the strong flavour I used vanilla essence and paste. ENJOY


Ingredients
For the gelatin bloom:
3 tablespoons  unflavored gelatin powder
1/2 cup cold water
1 1/2 tablespoons vanilla extract
For the marshmallows:
3/4 cup water
1 1/2 cups caster sugar
1 1/4 cup corn syrup
Pinch kosher salt
For the marshmallow coating:
1 1/2 cups powdered sugar
1/2 cup cornflour
Cooking spray
Equipment
Bowls and measuring cups
Fork or small whisk
9x13 baking pan or other flat container
4-quart saucepan (slightly larger or smaller is ok)
Pastry brush (optional)
Candy thermometer, one that can clip to the side of the sauce pan
Stand mixer with a wire whisk attachment (See Recipe Note)
Clean kitchen towel
Stiff spatula or spoon (as opposed to a rubbery, flexible one)
Sharp knife or pizza wheel

Instructions

  1. Prepare pans and equipment: Spray the baking pan with cooking spray. Use a paper towel to wipe the pan and make sure there’s a thin film on every surface, corner, and side. Set it near your stand mixer, along with the kitchen towel and spatula. Fit the stand mixer with the whisk attachment.
  2. Bloom the gelatin: Measure the gelatin into the bowl of the stand mixer. Combine 1/2 cup cold water and vanilla in a measuring cup and pour this over the gelatin while whisking gently with a fork. Continue stirring until the gelatin reaches the consistency of apple sauce and there are no more large lumps. Set the bowl back in your standing mixer. (Alternatively, you can bloom the gelatin in a small cup and transfer it to the stand mixer.)
  3. Combine the ingredients for the syrup: Pour 3/4 cup water into the 4-quart saucepan. Pour the sugar, corn syrup, and salt on top. Do not stir.
  4. Bring the sugar syrup to a boil: Place the pan over medium-high heat and bring it to a full, rapid boil — all of the liquid should be boiling. As it is coming to a bowl, occasionally dip a pastry brush in water and brush down the sides of the pot. This prevents sugar crystals from falling into the liquid, which can cause the syrup to crystallize. If you don’t have a pastry brush, cover the pan for 2 minutes once the mixture is at a boil so the steam can wash the sides. 

    → Do not stir the sugar once it has come to a boil or it may crystallize.
  5. Boil the syrup to 247°F to 250°F: Clip a candy thermometer to the side of the sauce pan and continue boiling until the sugar mixture reaches 247°F to 250°F. Take the pan off the heat and remove the thermometer.
  6. Whisk the hot syrup into the gelatin: Turn on your mixer to medium speed. Carefully pour the hot sugar syrup down the side of the bowl into the gelatin. The mixture may foam up — just go slowly and carefully.
  7. Increase speed and continue beating: When all the syrup has been added, cover the bowl with a clean kitchen towel and increase the speed to high (the cloth protects from splatters — the cloth can be removed after the marshmallows have started to thicken).
  8. Beat marshmallows until thick and glossy: Whip for about 10 minutes. At first, the liquid will be very clear and frothy. Around 3 minutes, the liquid will start looking opaque, white, and creamy, and the bowl will be very warm to the touch. Around 5 minutes, the marshmallow will start to increase in volume. You'll see thin, sticky strands between the whisk and the side of the bowl; these strands will start to thicken into ropes over the next 5 minutes. The marshmallow may not change visually in the last few minutes, but continue beating for the full 10 minutes. When you finish beating and stop the mixer, it will resemble soft-serve vanilla ice cream. 
  9. Immediately transfer to the baking pan: With the mixer running on medium, slowly lift (or lower, depending on your model) the whisk out of the bowl so it spins off as much marshmallow as possible. Using your stiff spatula, scrape the marshmallow mixture into the pan. This stuff is very thick and sticky, so don’t worry about getting every last bit out of the bowl. Just get as much as you can.
  10. Let the marshmallows set for 6 to 24 hours: Spray your hands lightly with cooking oil and smooth the top of the marshmallow to make it as even as possible. Let the mixture sit uncovered and at room temperature for 6 to 24 hours to set and "cure.
  11. Prepare the marshmallow coating: Combine the powdered sugar and cornstarch in a bowl.
  12. Remove the marshmallows from the pan: Sprinkle the top of the cured marshmallows with some of the powdered sugar mix and smooth it with your hand. Flip the block of marshmallows out onto your work surface. Use a spatula to pry them out of the pan if necessary. Sprinkle more powdered sugar mixture over the top of the marshmallow block.
  13. Cut the marshmallows: Using a sharp knife or pizza wheel, cut the marshmallows into squares. It helps to dip your knife in water every few cuts. (You can also cut the marshmallows with cookie cutters.)
  14. Coat each square with powdered sugar mix: Toss each square in the powdered sugar mix so all the sides are evenly coated.
  15. Store the marshmallows: Marshmallows will keep in an airtight container at room temperature for several weeks. Leftover marshmallow coating can be stored in a sealed container indefinitely.

Saturday 8 February 2014

Chewy Chocolate Chip Cookies - Gluten Free

Chocolate chip cookies are one of my favourite things to snack on. However when made with gluten free flour they usually have a bitter after taste or odd texture. I have tried recipe after recipe from the internet and several cook books but none of them ever seem to meet my expectations. I have bought and trialled many different flours, almond meal  and other ingredients but still the same old problem. This is  my original recipe from before I was diagnosed gluten free, over the past 2 years I have made many adaptations and finally come up with a winner! Even when they aren't warm from the oven they are still perfectly chewy with no bitter after taste! ENJOY


Ingredients:

115g Butter
3/4 cup Soft Brown Sugar
1/4 cup Caster Sugar
2 tsp Vanilla Essence 
1 Egg
1 1/4 cup All purpose Gluten Free Flour (I use healtheries baking mix)
1/4 tsp salt
1/3 cup Threaded Coconut 
1 Cup Chocolate Chips 

Method:

Preheat oven to 180°C and grease or line two baking trays with baking paper. 
Beat butter until pale in colour, add both sugars and vanilla. Cream until light and fluffy, add egg and beat until well combined. 

Sift in flour and salt, mix until combined before stirring in the chocolate and coconut
Roll heaped teaspoon sized balls of mixture and place on tray, press down lightly and bake for approx. 10-12 minutes. 

Pull out when slightly golden around the edges. Cool on the tray for 10 minutes and they are ready to be eaten!!

Monday 3 February 2014

Bluebells Cakery Melting Moments - Gluten Free

Bluebells Cakery is the gorgeous new cook book that I decided to buy myself for Christmas this year. There are so many recipes I would like to make from here so why not start with the melting moments! This is not the recipe i usually use for melting moments but i wanted to give it a go for a change! The natural and fresh flavour of the freeze dried fruit powder in the icing gives it a nice fruity taste and different flavour than usual. The recipe says raspberry powder but I used strawberry and they turned out great!


Melting Moments:

Ingredients:
250g unsalted butter, softened
1/3 cup icing sugar
1 tsp Vanilla paste (I used 2-3 tsp)
2 cups all purpose gluten free flour
1 tsp guar gum
1/3 cup corn flour

Method:

Preheat oven to 180'c and line two baking trays with baking paper.
Cream the butter until pale. Add the icing sugar and vanilla till light and fluffy.
Sift in the flour and corn flour over the top of the creamed mixture and beat gently till combined.
Using your hand roll a tablespoon of mixture at a time into balls and place on the baking trays about 4cm apart.  Gently press down on the balls with the back of a folk.
Refrigerate for 20-30 mins before being baked, this will prevent them from spreading too fast and from going flat in the oven.
Bake the refrigerated biscuits for 10-15mins. Leave on the baking tray for 10 minutes, then transfer to a wire rack to cool.

To ice and decorate:

100g unsalted butter
2 cup icing sugar
1-2 tbsp freeze dried raspberry (i used strawberry powder)
Juice and zest of half a lemon
1 tbsp milk, add more if needed

To make icing, cream the butter for 3-4 minutes or until very pale. Add milk and vanilla and half of the icing sugar mixture, beat for at least 1 minutes or until the mixture is light and fluffy. Add remaining icing sugar, lemon and raspberry and beat for a further 3 minutes or until the mixture is light and fluffy or at a spreadable consistency.

Once the biscuits are cool, you can assemble them by spreading the base of the biscuit with the icing and topping with a second biscuit. Repeat again until al the biscuits are filled. Dust lightly with icing sugar if desired and ENJOY