
I have a guilty confession to make... i am a cupcake addict. Baking, eating, creating, planning and learning, i love it all. So of course watching numerous episodes per week of Cupcakes Wars is only mandatory. This is my new recipe inspired from many many episodes of cupcakes wars. I never would have thought of making a spiced cream cheese frosting to accompany a banana cupcake. The base is a fluffy banana cupcake, filled with a salted caramel and topped with a spiced cream cheese frosting. The cinnamon in the frosting balances out the sweetness of the caramel in the middle.
I roasted a few walnuts in pure maple syrup and used this as the garnish.
I love this banana cupcake recipe (can also be used to make a cake) as it is perfectly moist and fluffy every time. ENJOY

 Ingredients
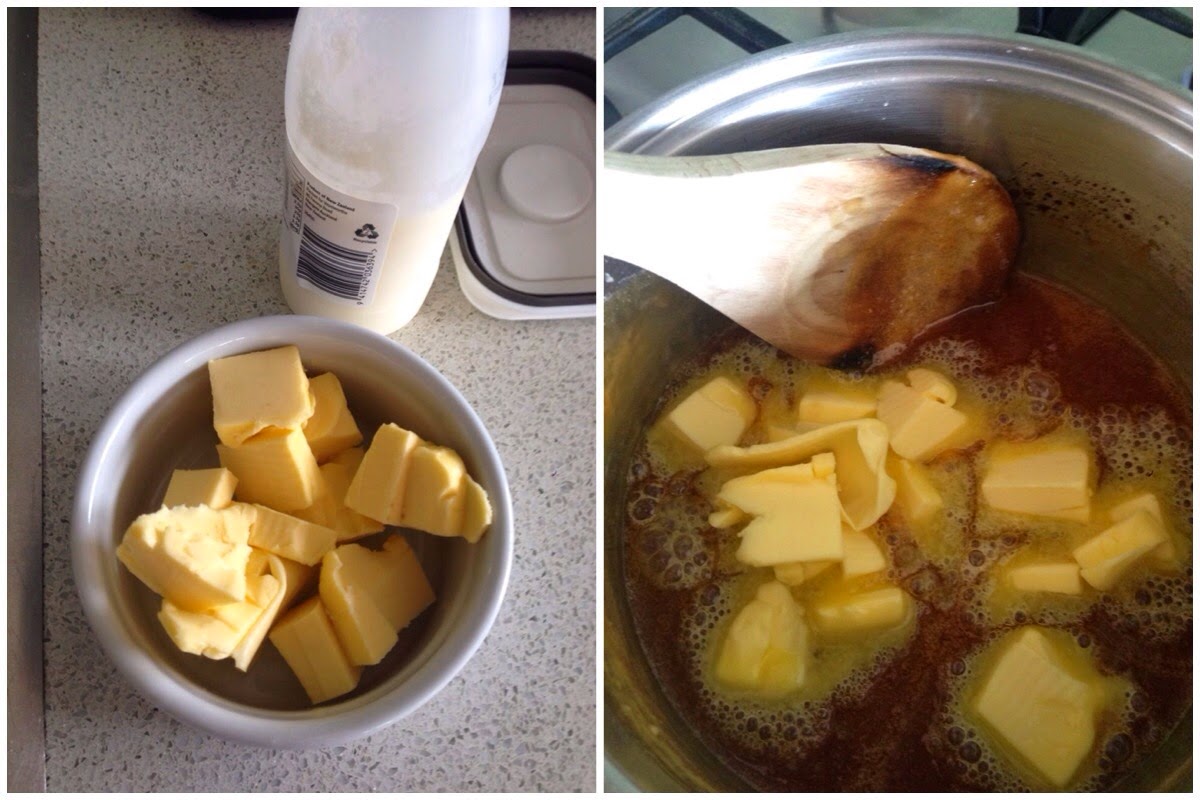
100g butter, softened
3 eggs
3 bananas, mashed with a fork
½ cup low fat milk
1/2 tsp baking soda
150ml plain yoghurt
1 1/2 cups plain flour
Method
Prepare 2x24 mini cupcake trays with liners.
Beat softened butter till light and creamy. Add the caster sugar and vanilla and beat till well combined. Add eggs on at a time, beating well after each addition until pale and creamy.
 Add the mashed bananas, the yoghurt, milk (dissolve baking soda into the milk), flour, ground almonds and baking powder. Mix until just combined and scoop into the cupcake liners.
 Bake for 10-12 minutes until the cupcakes are cooked (lightly touch the top and f it springs back when you lift your finger off, they are done!!). Cool for 5 mins and remove from the tins.
 Caramel sauce:
Ingredients:
Directions: Once sugar is completely melted, immediately add the butter. Be careful in this step because the caramel will bubble rapidly when the butter is added. Stir the butter into the caramel until it is completely melted, about 2-3 minutes.
 Very slowly, drizzle in 1/2 cup of heavy cream. Since the heavy cream is colder than the caramel, the mixture will rapidly bubble and/or splatter when added. Allow the mixture to boil for 1 minute. It will rise in the pan as it boils.
 Remove from heat and stir in 1 teaspoon of salt. Allow to cool down before using.
Core out the middle of the cupcakes and fill with the cooled caramel. This is easiest done when in a piping bag.

Spiced Cream Cheese Frosting:
Cream cheese frosting:
Method: Beat cream cheese and butter on high until light and fluffy. Add all other frosting ingredients together until you have a smooth frosting consistency. Pipe or spread between cake layer and on top and EAT <3  Top cupcakes with frosting.
Optional: Roast walnuts in a good swirl of maple syrup at 200'c for approx 8mins. Cool and use to top the cupcakes
Top cupcakes with frosting.
Optional: Roast walnuts in a good swirl of maple syrup at 200'c for approx 8mins. Cool and use to top the cupcakes

I roasted a few walnuts in pure maple syrup and used this as the garnish.
I love this banana cupcake recipe (can also be used to make a cake) as it is perfectly moist and fluffy every time. ENJOY
Ingredients
100g butter, softened
3 eggs
3 bananas, mashed with a fork
½ cup low fat milk
1/2 tsp baking soda
150ml plain yoghurt
1 1/2 cups plain flour
Prepare 2x24 mini cupcake trays with liners.
Beat softened butter till light and creamy. Add the caster sugar and vanilla and beat till well combined. Add eggs on at a time, beating well after each addition until pale and creamy.
Ingredients:
1 cup (200g) granulated sugar
6 Tablespoons (90g) salted butter, cut up into 6 pieces*
1/2 cup (120ml) heavy cream*
1 teaspoon salt
Directions:
Heat granulated sugar in a medium saucepan over medium heat, stirring constantly with a rubber spatula. Sugar will form clumps and eventually melt into a thick brown, amber-colored liquid as you continue to stir. Be careful not to burn.
Once sugar is completely melted, immediately add the butter. Be careful in this step because the caramel will bubble rapidly when the butter is added. Stir the butter into the caramel until it is completely melted, about 2-3 minutes.
Very slowly, drizzle in 1/2 cup of heavy cream. Since the heavy cream is colder than the caramel, the mixture will rapidly bubble and/or splatter when added. Allow the mixture to boil for 1 minute. It will rise in the pan as it boils.
Remove from heat and stir in 1 teaspoon of salt. Allow to cool down before using.
Cover the caramel tightly and store for up to 2 weeks in the refrigerator.
Core out the middle of the cupcakes and fill with the cooled caramel. This is easiest done when in a piping bag.
Spiced Cream Cheese Frosting:
Cream cheese frosting:
250g Cream Cheese
100g Butter
3 1/2 cup Icing Sugar
1 T Milk (may need more or less depending on desired consistency)
2 tsp Vanilla Essence or Vanilla paste
1 tsp Ground Cinnamon
Method: Beat cream cheese and butter on high until light and fluffy. Add all other frosting ingredients together until you have a smooth frosting consistency. Pipe or spread between cake layer and on top and EAT <3
Top cupcakes with frosting.
Optional: Roast walnuts in a good swirl of maple syrup at 200'c for approx 8mins. Cool and use to top the cupcakes


.jpg)


