
Chocolate, coffee and caramel.. what a perfect flavour combination. These cupcakes are a rich and decadent treat for those chocolate and caramel lovers. These fluffy chocolate cakes are filled with a caramel sauce and marshmallow fluff, topped with a espresso buttercream with caramel corn to add an extra crunch to the cupcake.
This basis of this cupcake just came to me one morning in the kitchen and next thing you know, here we are with 12 chocolate, espresso and caramel morsels of goodness.
ENJOY xx


Chocolate cupcakes: Makes 12 cupcakes
1 1/4 cups gluten free flour (Healtheries baking mix)
1/3 cup ground almonds
1/2 t baking soda
1 t baking powder
1/2 t salt
1 1/2 T instant coffee
1/2 cup hot water
1/2 cup cocoa
1/2 cup cold water
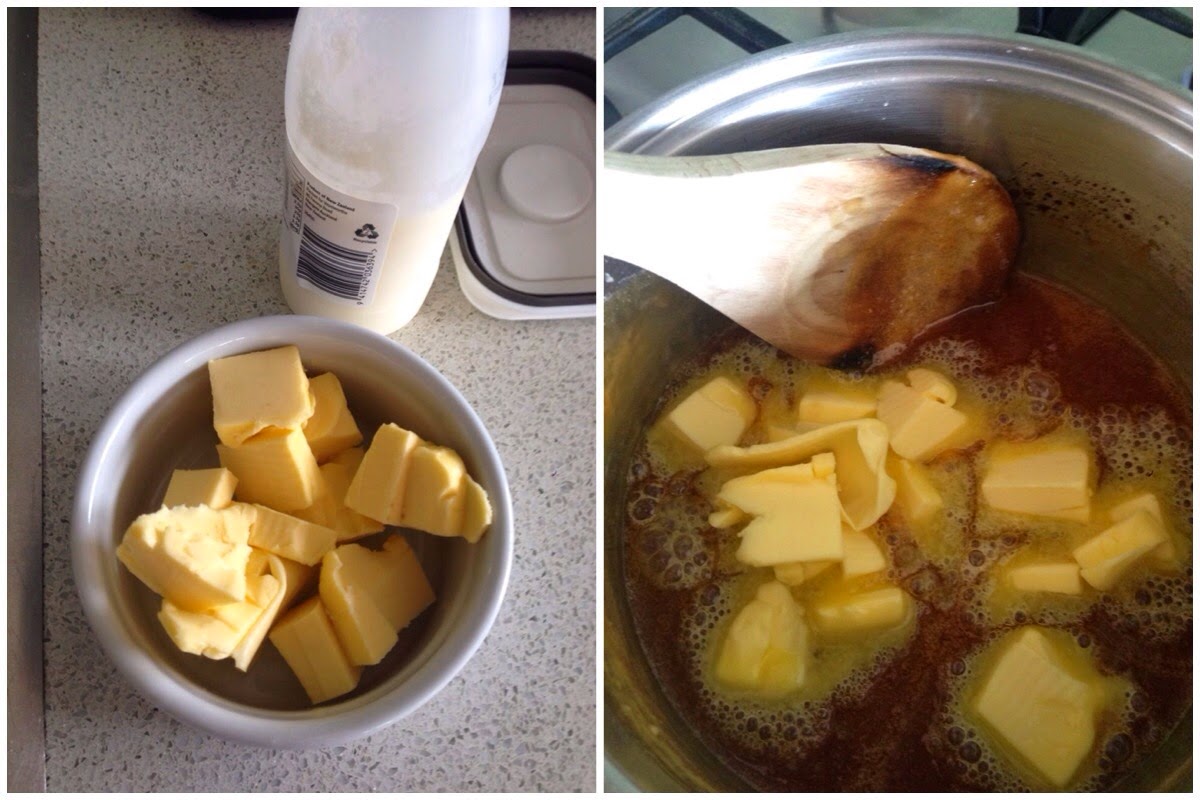
100g softened butter
1 1/4 cup caster sugar
2 eggs
2 t vanilla
Add the castor sugar a third at a time, beating for 2 minutes after each addition. Beat until the mixture is light and fluffy and sugar had almost dissolved. Add eggs one at a time, beating for 1 minute between each. Add vanilla extract.

Sift together the four, ground almond, baking soda, baking powder and salt.
In a separate bowl whisk together the coffee, hot water and cocoa until you have a smooth paste. Add the cold water and mix until evenly combined.
Add a quater of the flour to the creamed mixture and beat on a low speed until combined. Add a third of the cocoa mixture and beat until combined. Repeat this process twice more. Add the reaming quarter of flour and beat until thoroughly combined. Do not over beat or it will toughen the mixture.

Spoon mixture into cupcake papers, filling each about 3/4's full. Bake for 15-18mins. Removes cupcakes from tray and cool for at least 30mins before icing.

Once cupcakes are cooled, use a knife to gently core out the centre.
Fill a piping bag with about 2 heaped spoons of caramel sauce on one side of the bag and 2 headed spoons of marshmallow fluff on the other side. (These can be homemade or you can use pre-made versions e.g. top and fill caramel). Fill middle of cupcakes with the caramel marshmallow combination.

Fluffy Espresso frosting:
4 cups icing sugar
100g softened butter
2 T milk
1 T vanilla
2 t Espresso Powder
Method: Cream the butter for 3-4 minutes or until very pale. Add milk, vanilla, espresso powder and half of the icing sugar mixture, beat for at least 1 minutes or until the mixture is light and fluffy. Add remaining icing sugar and beat for a further 3 minutes or until the mixture is light and fluffy or at a spreadable consistency. (You may need to add more milk / icing sugar to reach your desired constancy).

Top cupcakes with the fluffy espresso buttercream. To add an extra texture/crunch to the cupcakes i topped them with caramel corn - optional but adds an extra something special to the cupcakes.


.jpg)


